16
Bill's Shop: Projects, Mods & Repairs / Speedball Black Guitar Finish
« on: June 19, 2016, 03:26:54 PM »
This is a finish I have used around the house on small pieces of furniture and picture frames.
I started this project at about 3:00 pm today, and it's now just after 6:00 pm.
I plan to assemble the guitar tomorrow.
The finish combines Speedball Black India Ink as a base coat and and Minwax Satin wipe-on Poly as a clearcoat.
Tools and supplies are:
- Speedball Black India Ink
- Minwax Satin wipe on polyurethane
- 0000 steel wool or similar
- Cotton rag
- 3/4" artist's paint brush.
That's it.
Here's a video that discusses the general process of "ebonizing" wood in depth, with the segment on India Ink starting at about 21:00
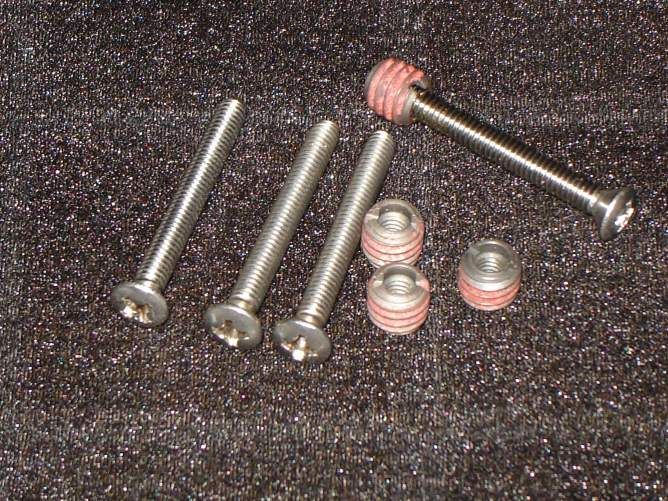
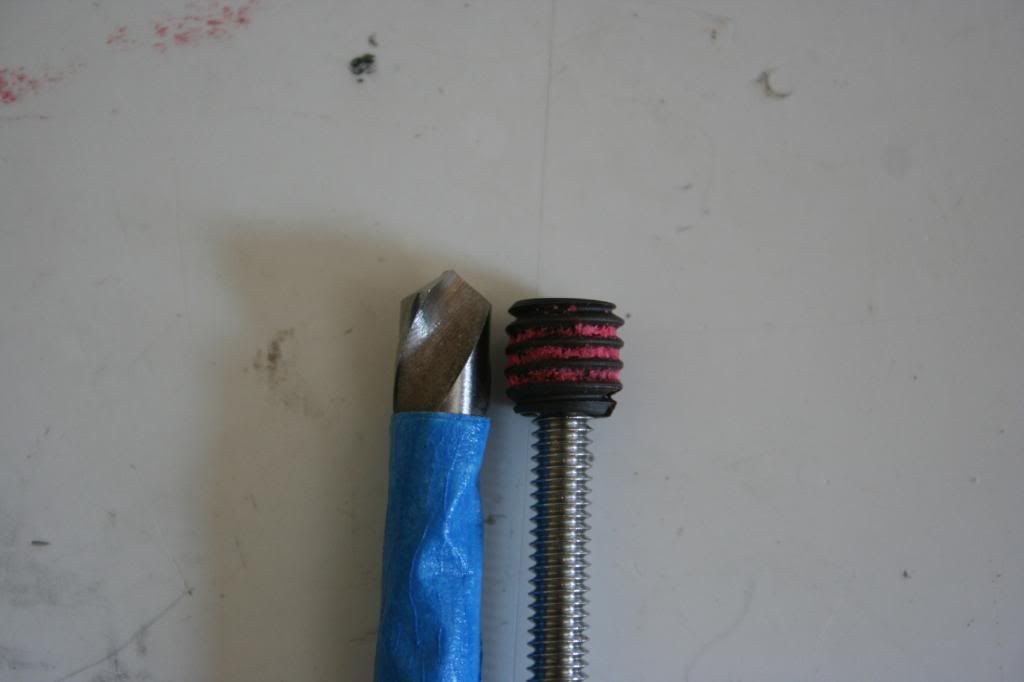
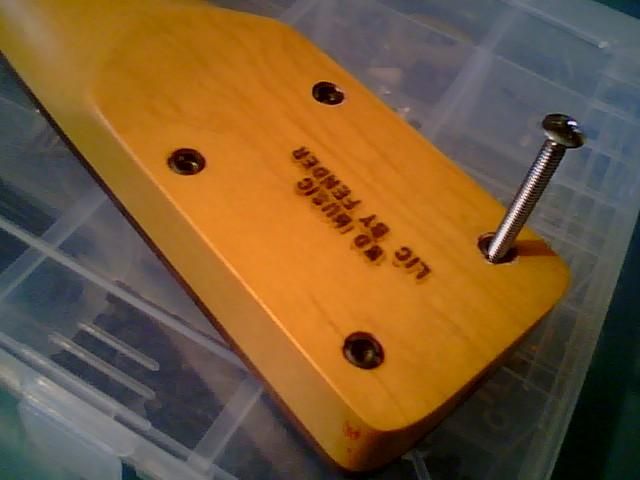
It's VERY simple, and to demonstrate I went old school with a lazy Susan and screws in the body to suspend it off the surface while I painted the back.
1. Brush on three coats of Speedball Black, brushing with the grain and burnishing with steel wool in between coats.
2. Wipe on three coats of Minwax Satin polyurethane, burnishing with steel wool in between coats.
3. Enjoy!
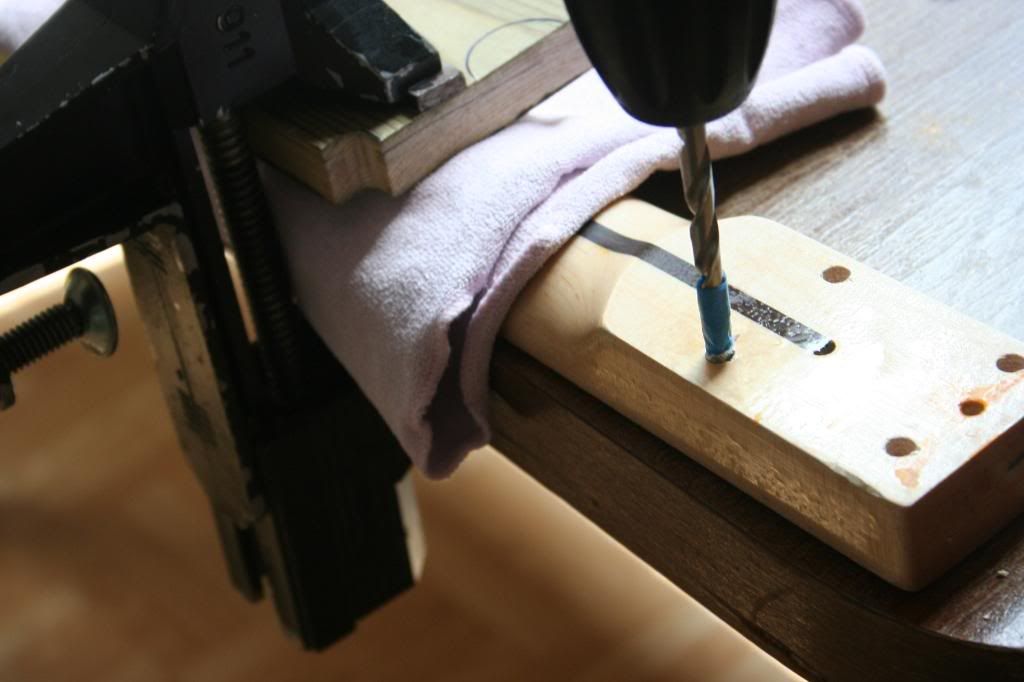
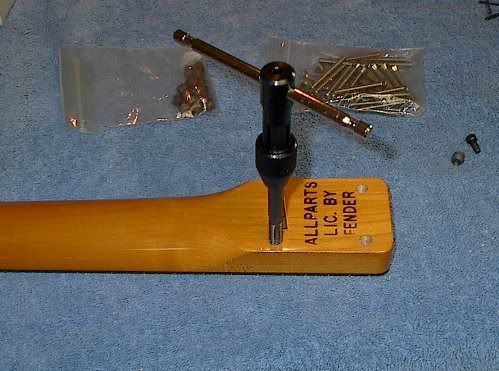
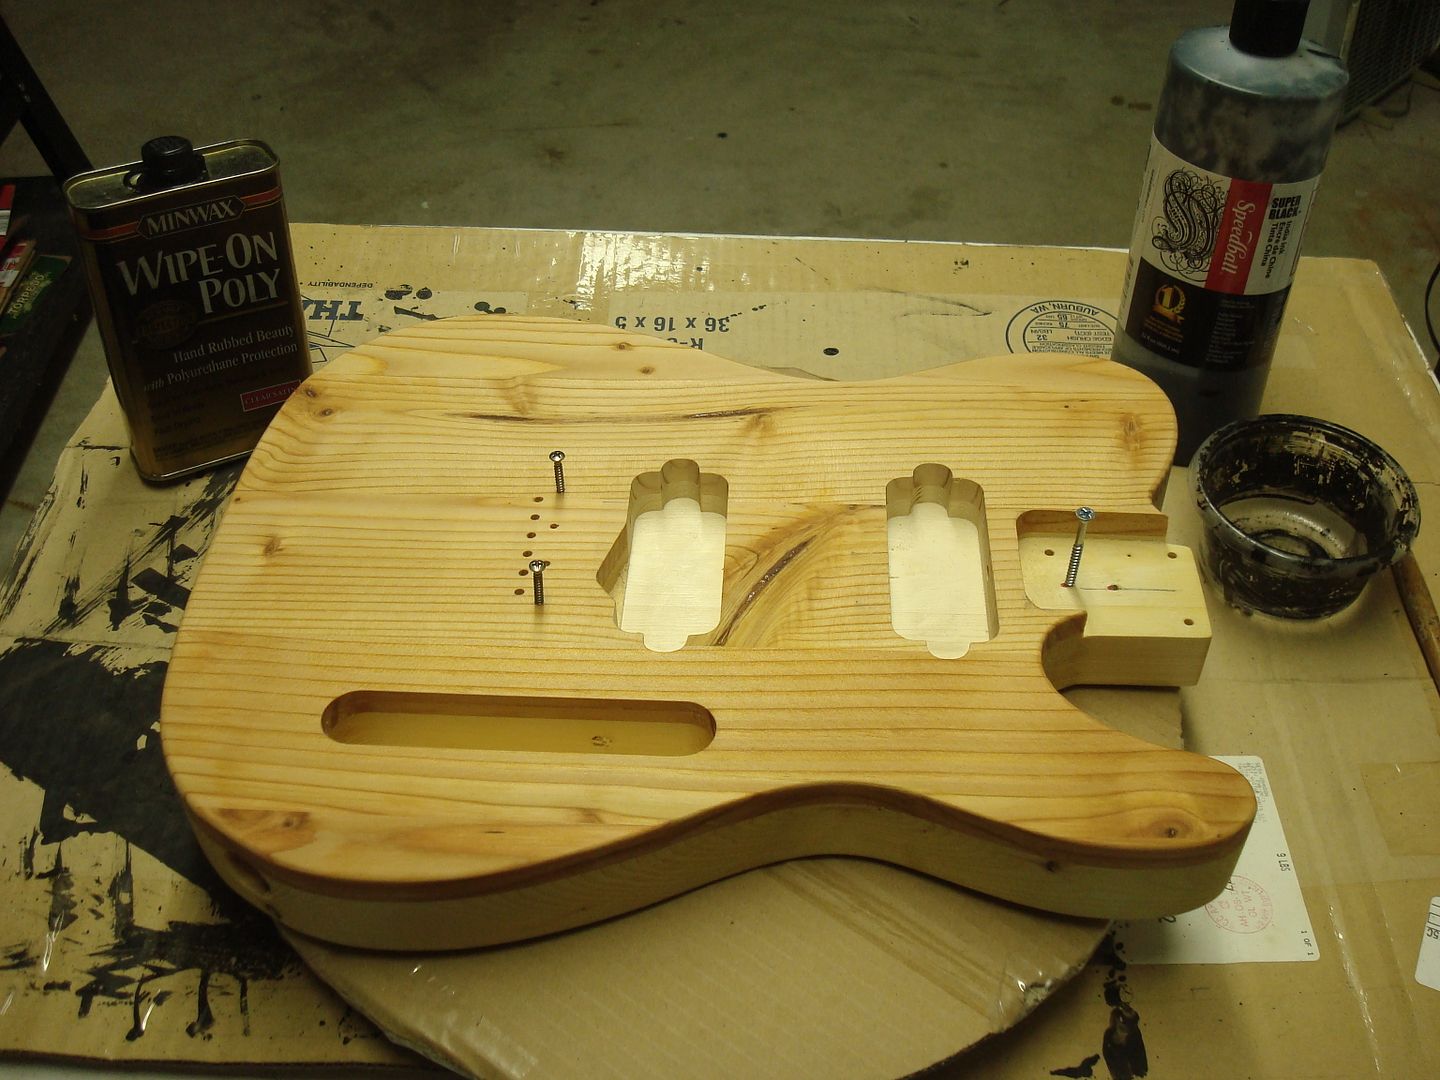
Getting ready:
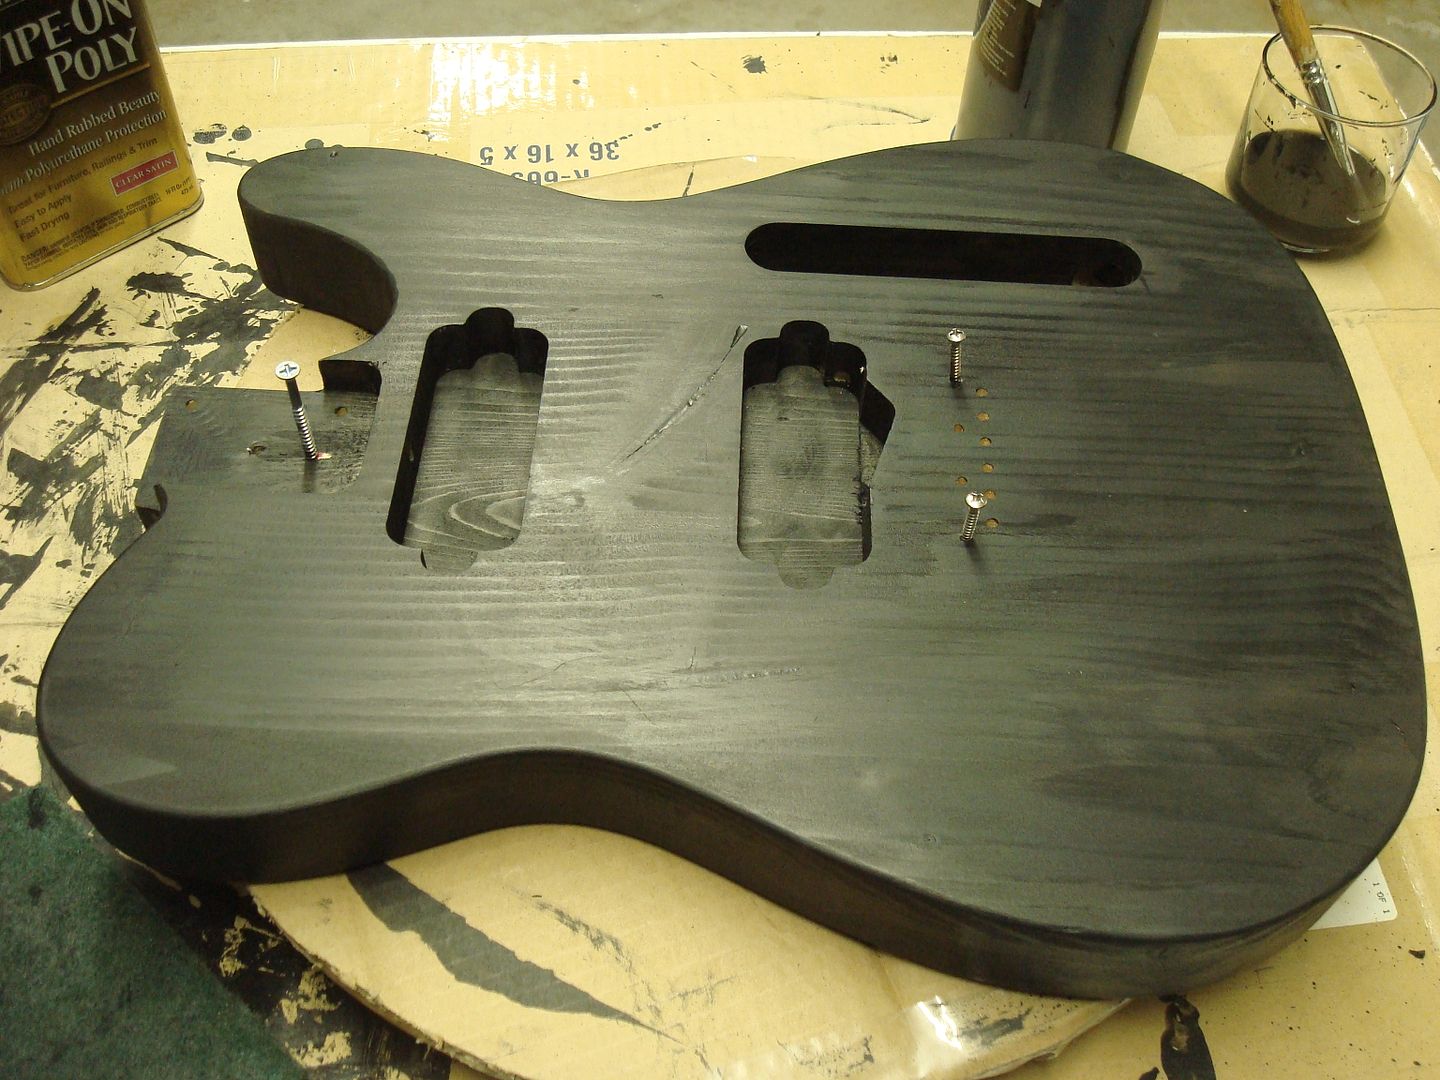
After only one coat of Speedball Black:
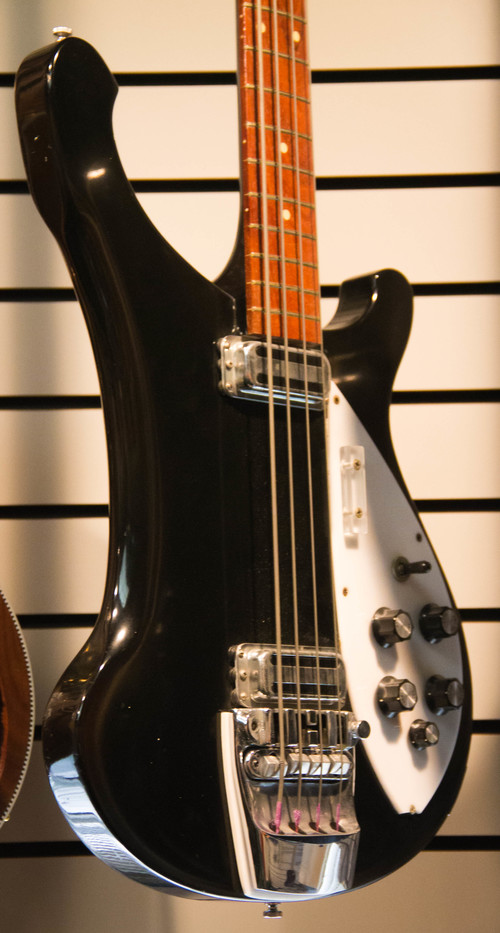
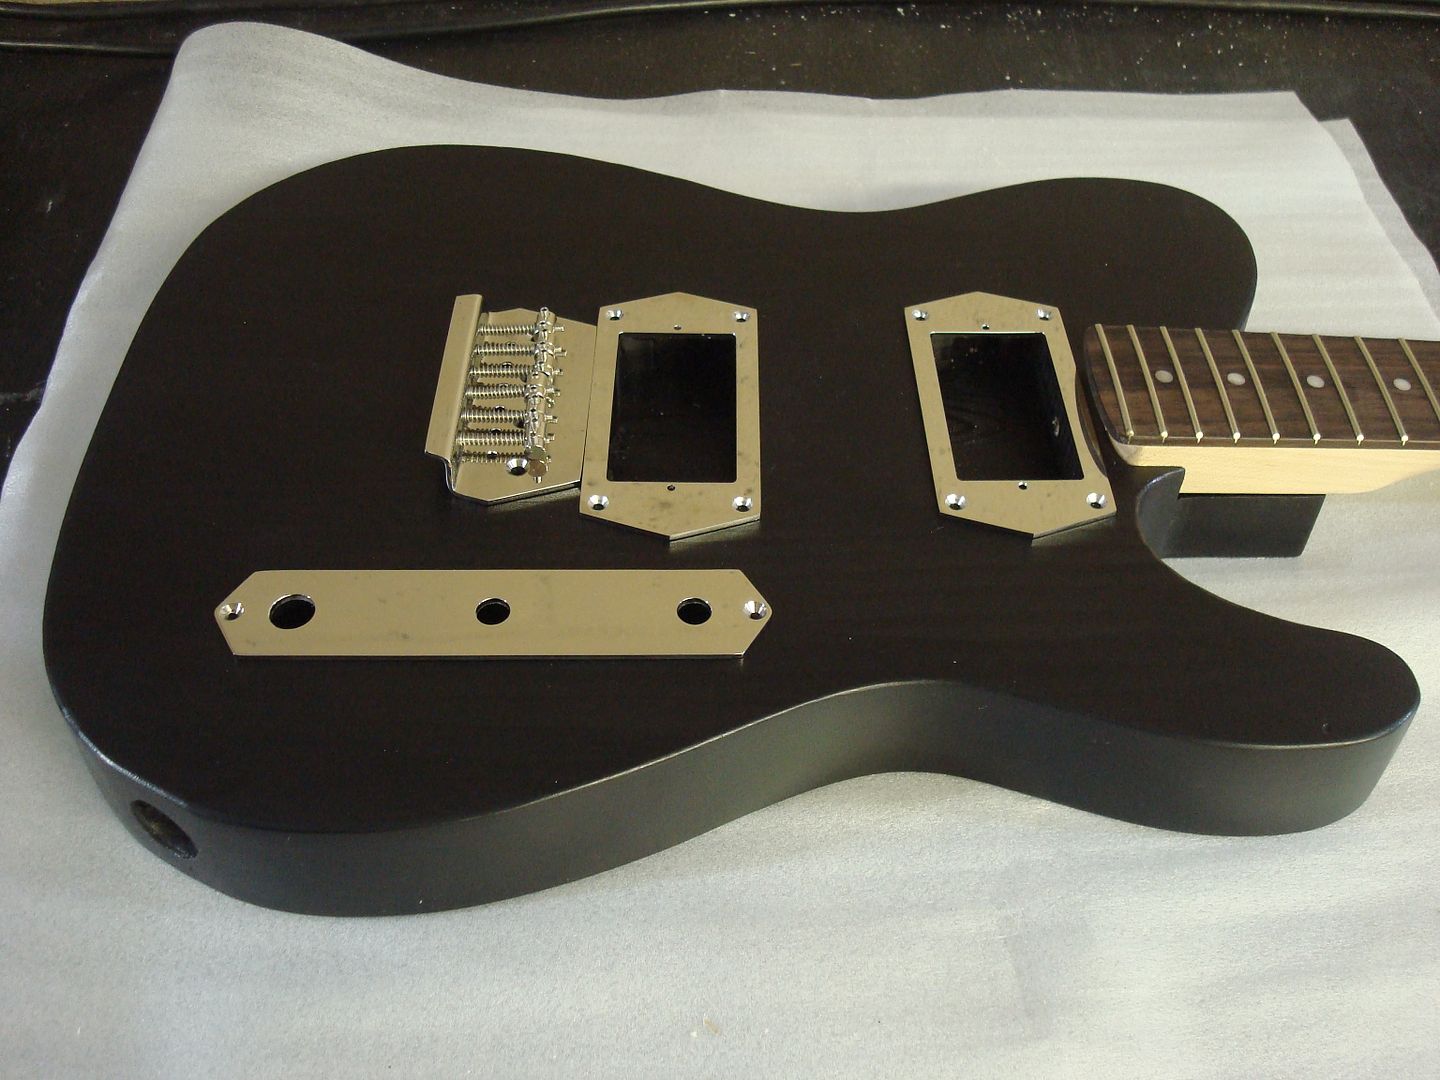
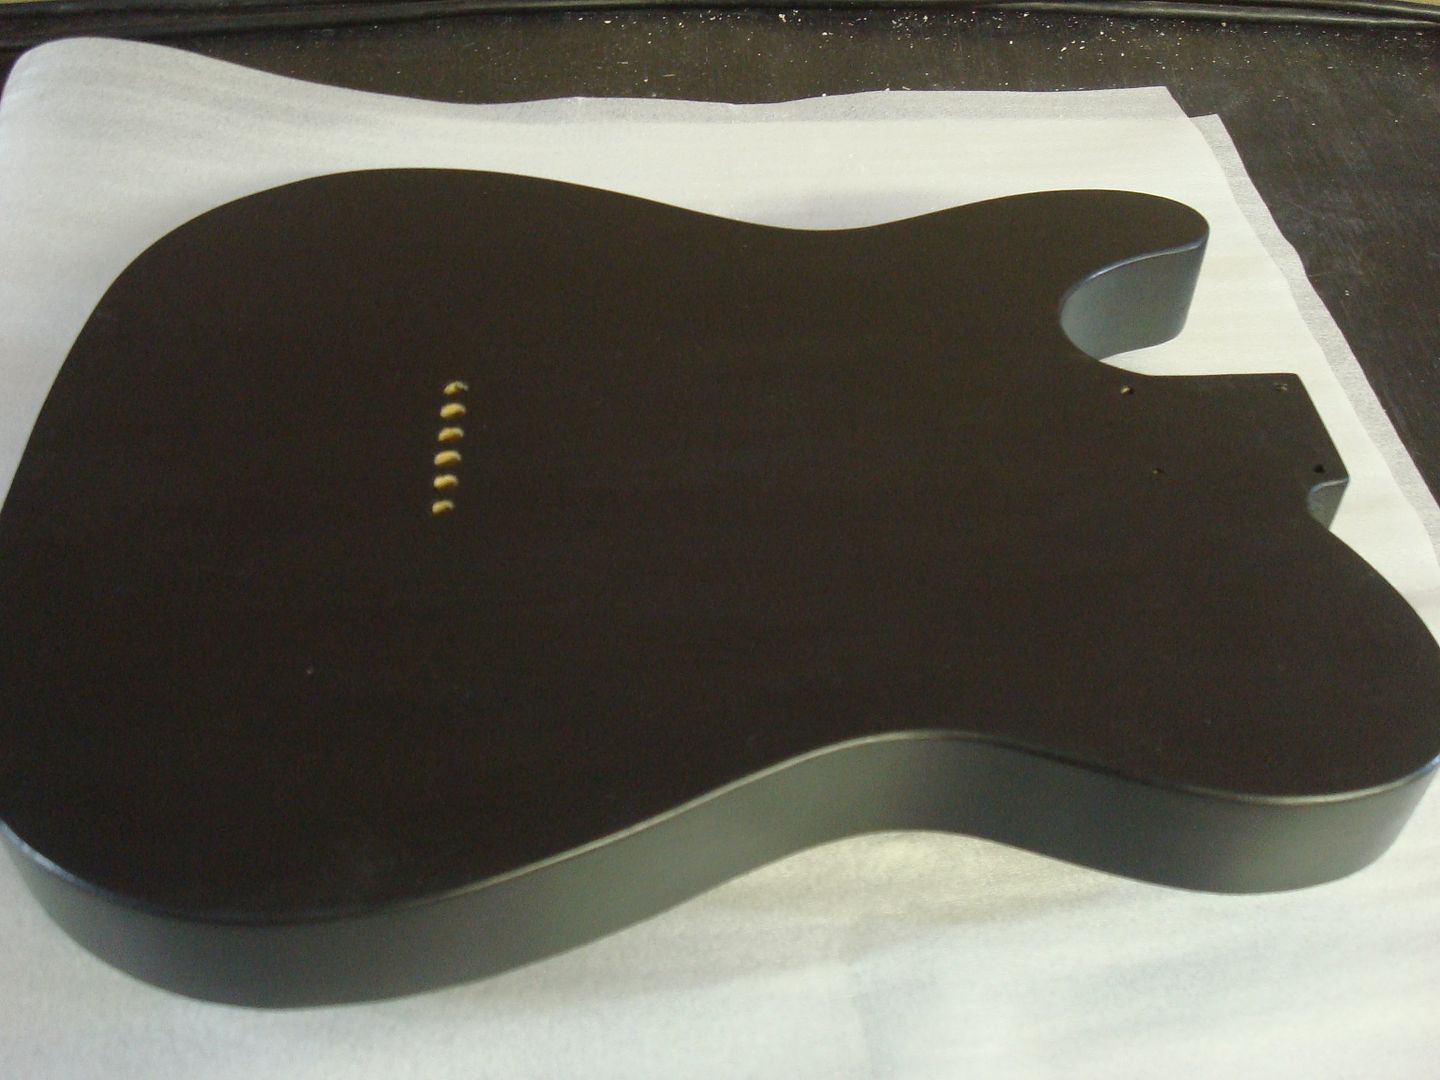
After 3 coats of Speedball Black and 3 coats of Minwax Satin, burnished with steel wool:
Thanks to Scott H./fretless/fretno for introducing me to this technique.

I started this project at about 3:00 pm today, and it's now just after 6:00 pm.
I plan to assemble the guitar tomorrow.
The finish combines Speedball Black India Ink as a base coat and and Minwax Satin wipe-on Poly as a clearcoat.
Tools and supplies are:
- Speedball Black India Ink
- Minwax Satin wipe on polyurethane
- 0000 steel wool or similar
- Cotton rag
- 3/4" artist's paint brush.
That's it.
Here's a video that discusses the general process of "ebonizing" wood in depth, with the segment on India Ink starting at about 21:00
It's VERY simple, and to demonstrate I went old school with a lazy Susan and screws in the body to suspend it off the surface while I painted the back.
1. Brush on three coats of Speedball Black, brushing with the grain and burnishing with steel wool in between coats.
2. Wipe on three coats of Minwax Satin polyurethane, burnishing with steel wool in between coats.
3. Enjoy!
Getting ready:
After only one coat of Speedball Black:
After 3 coats of Speedball Black and 3 coats of Minwax Satin, burnished with steel wool:
Thanks to Scott H./fretless/fretno for introducing me to this technique.