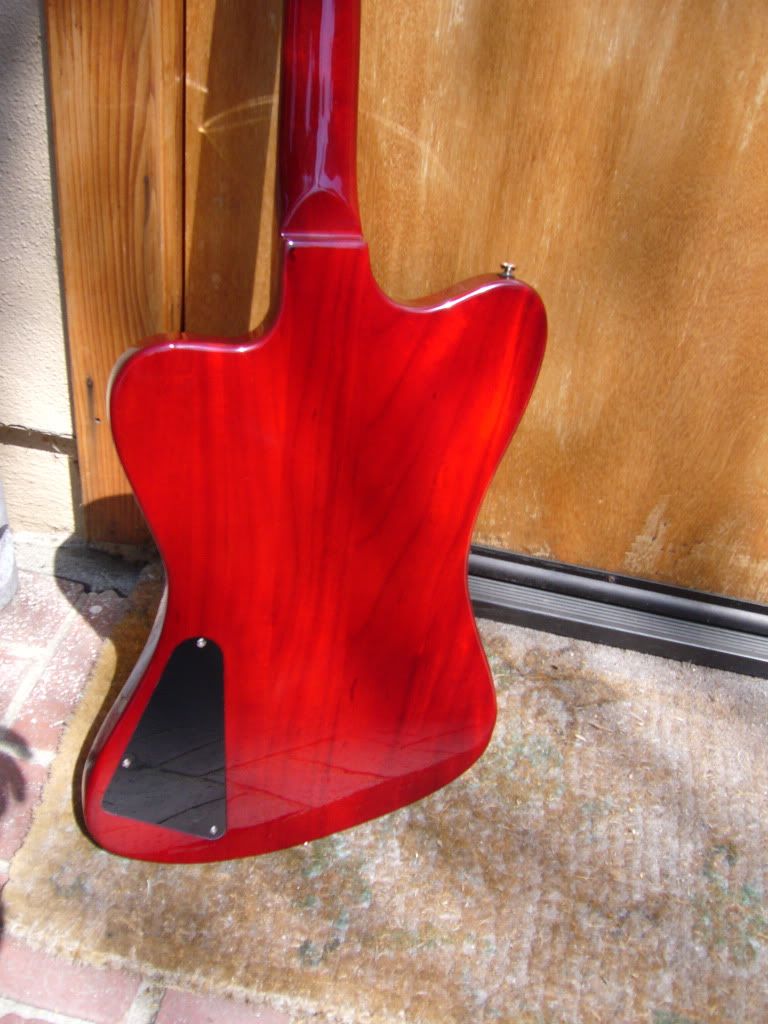
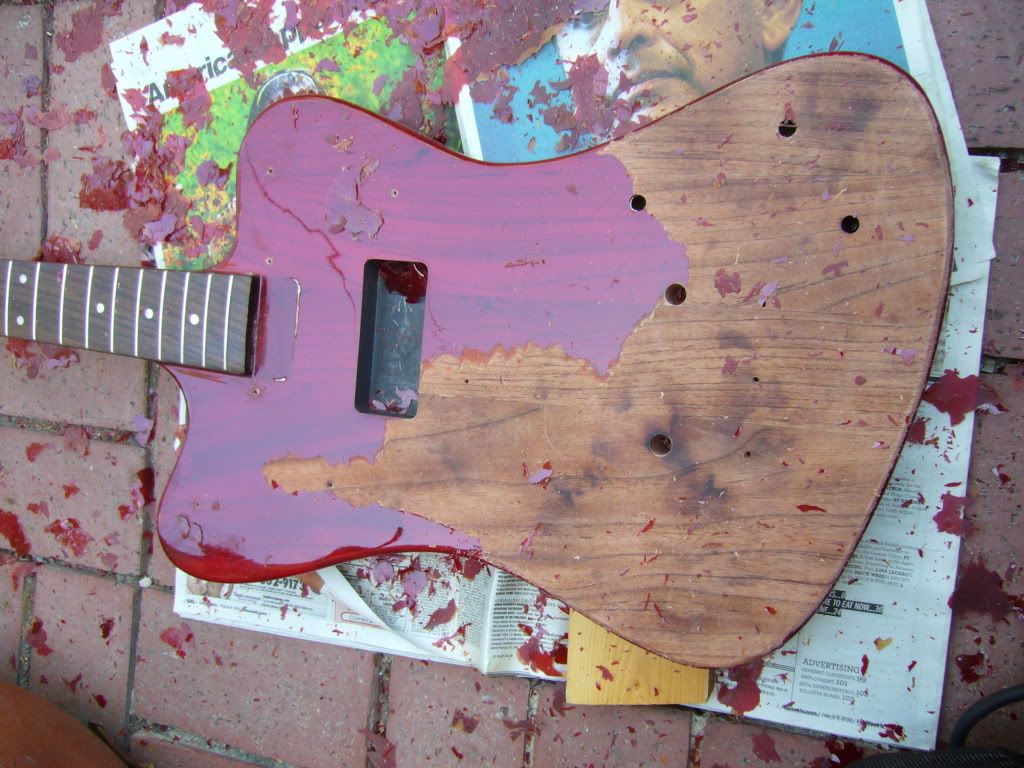
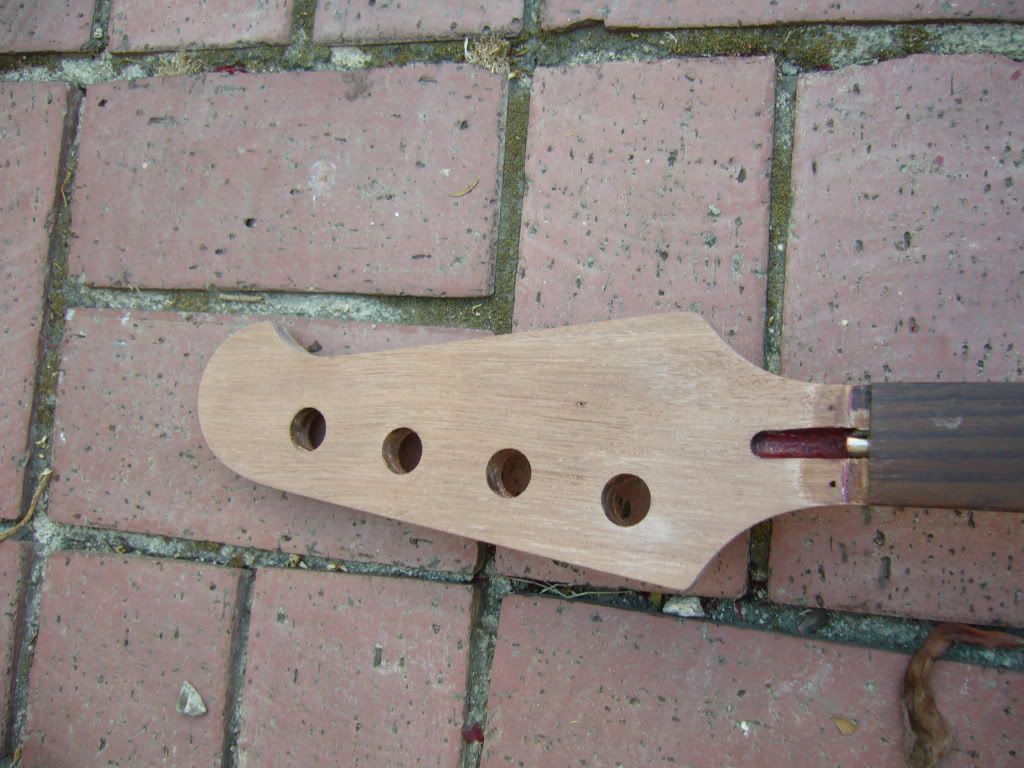
First order of business, strip it!!! I used a heat gun and the finish melted off the body very quickly which was a pleasant surprise. I didn't think it was a good idea to use the heat gun on the neck so I sanded that and I got a little bit carried away (more on that later). Anyway, no turning back now.
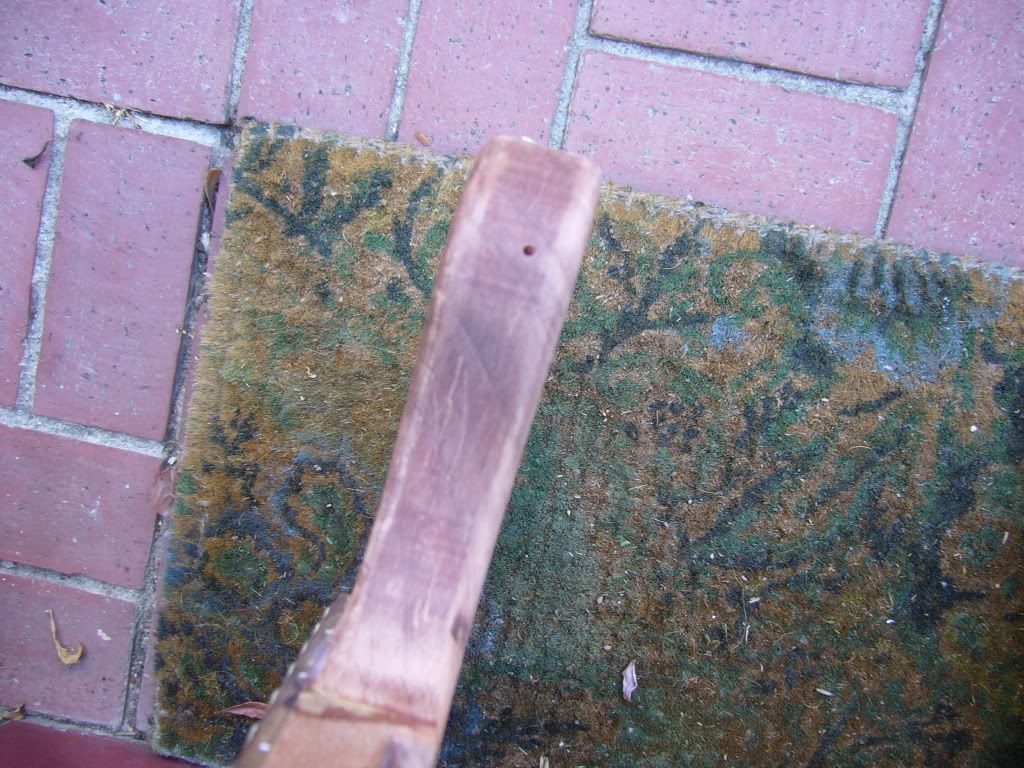
Now the next thing on my list (and one of the most important in my opinion) was to thin out the body. But how? I posted some questions on Reranch and I started asking some friends with woodworking experience and I was told that it could be a potential disaster and that I shouldn't mess with it. Obviously sanding it by hand would be a total nightmare because it would be impossible to keep it even and sand it perfectly flat. Not to mention how much work it would be. I wanted to thin it down considerably too so I was at least smart enough to not go that route. It was definitely a tricky one because it's a set neck bass. If I could remove the neck then I might have been able to just plain the body but obviously sending the whole bass through the plainer, especially with that giant headstock angled the way it is would big a HUGE mistake. My friend has a wood shop and he was the one that helped me with some of the work. I kept bugging him with different ways to approach it but he didn't think any of the ideas would work. Basically every idea fell into the "ah, maybe it could work but maybe it will screw it up really bad too" category. There didn't seem to be a safe bet. I'm sure some of you guys would have been able to pull it off but again, I'm a rookie. So after many discussions with my friend we finally came up with a solution. It was a sketchy one though. Sorry, I don't have pictures of this part (I know, lame, right? especially since this was the most interesting and difficult part). So my friend also goes to another wood shop for certain things and he said that they had a huge drum sander. It basically looks like a huge plainer but instead of blades it has huge drums covered in sand paper. I'm sure some of you guys have seen them. OK, so what's the game plan I ask? Basically we would have to run it through the sander, almost like we were going to plain it but instead it's getting sanded instead. Why is this better then just running it through the plainer? Well, if we were to run it through the plainer we would have to send it all the way through and it of course would also plain most of the headstock off. We thought maybe we could send it through and then stop the machine once the body goes through but my friend thought that would be a potential disaster. With the drum sander we could run it through and then pull it back out since it's only sanding and not cutting. And we could sand it a little at a time and go slow and steady with it. Basically more control. We needed to find a way to hold onto the bass though so we could push it in and then pull it out so the bass wouldn't go all the way through. Hum, what should we use? I know, the bass neck! So we ended up using the neck as a handle to send the bass into this huge drum sander and to pull it back out repeatedly until we got the bass to the thickness that we wanted. Pretty sketchy to say the least but it worked like a charm. Oh and also, another problem was that we couldn't lay the bass flat on it's front because the fret board would get in the way so we had to screw on a few 1/4 boards on the the front of it to make it level when we laid it flat so the fretboard wouldn't get damaged. Man I wish I had pictures of this whole process. By the way, I went to the vintage Guitar Center in Hollywood to take measurements of their vintage sunburst NR bird. I measured the thickness of the body, measured the thickness and placement of the belly contour and where exactly to put the route for the second pickup. I wanted to make sure I got everything correct and since they had a real vintage one there I figured I should take advantage of the situation. Oh, they want $10,999 for that bass by the way. Yikes!!! It is beautiful though and it does play like a dream but I guess it should for that much money.
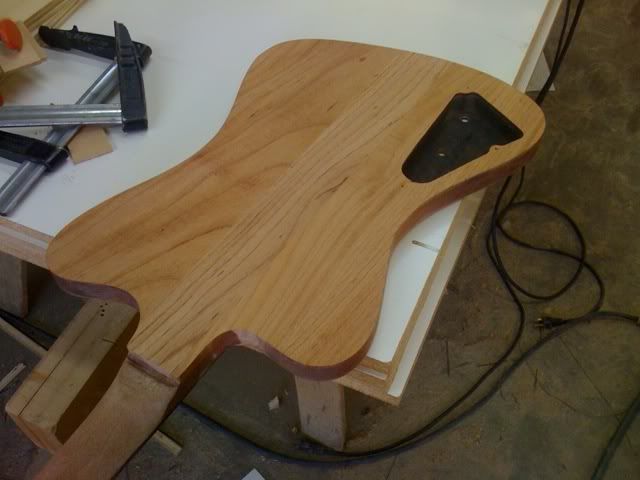
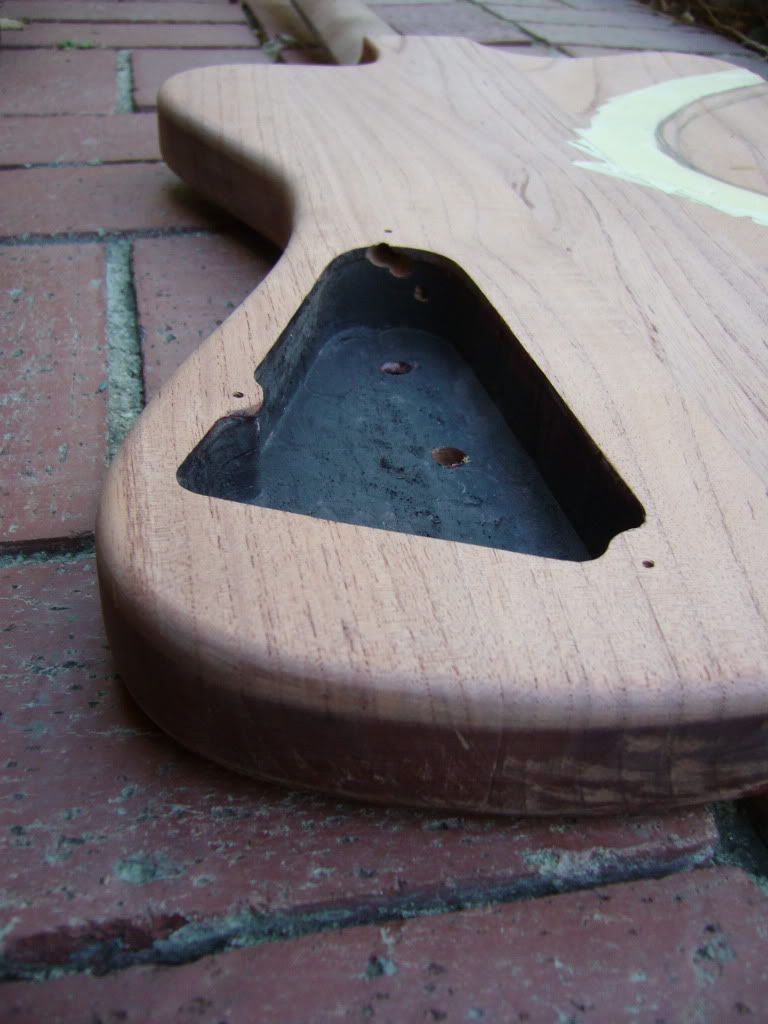
Here's how it looked after the sanding. Perfect. Now I need to route all the edges again and the control cavity.